How to recover samples from your Fisher Accuspin 3 or 3R Centrifuge ?

Are your samples stuck inside your Fisher Accuspin 3 or 3R centrifuge ?
If so then it is possible you have experienced a problem with the centrifuge.
We have put together a short video to show you how to recover your samples using the emergency lid release.

⚠️ WARNING ⚠️

Please leave enough time for the rotor inside your centrifuge to slow down and stop spinning. You need to be 100% sure that the rotor has stopped spinning before carrying out the manual override procedure.

Failure to do this could result in serious injury.

If you are unsure about doing this please contact a trained centrifuge engineer.

How to recover samples from your Eppendorf 5424 and 5424R micro centrifuge ?

Are your samples stuck in your Eppendorf 5424 or Eppendorf 5424R micro centrifuge ?
If so then it is possible you have experienced a problem with the centrifuge.
We have put together a short video to show you how to recover your samples using the emergency lid release.

⚠️ WARNING ⚠️

Please leave enough time for the rotor inside your centrifuge to slow down and stop spinning. You need to be 100% sure that the rotor has stopped spinning before carrying out the manual override procedure.

Failure to do this could result in serious injury.

If you are unsure about doing this please contact a trained centrifuge engineer.

Here is a link to the manual on the manufacturers website.
We always recommend following the procedure as detailed by the manufacturer, this can be found on page 41.

How to recover your samples from your Heraeus Megafuge 40 or 40R centrifuge ?

Are your samples stuck in your Heraeus Megafuge 40 or 40R centrifuge ?
Below is a short video which we have put together to help you recover your samples.

⚠️ WARNING ⚠️

Please leave enough time for the rotor inside your centrifuge to slow down and stop spinning. You need to be 100% sure that the rotor has stopped spinning before carrying out the manual override procedure.

Failure to do this could result in serious injury.

If you are unsure about doing this please contact a trained centrifuge engineer.

How to recover your samples from your Eppendorf 5810 & 5810R ?

Are your samples stuck in your Eppendorf 5810 or 5810R centrifuge ?
Below is a short video which we have put together to help you recover your samples.

⚠️ WARNING ⚠️

Please leave enough time for the rotor inside your centrifuge to slow down and stop spinning. You need to be 100% sure that the rotor has stopped spinning before carrying out the manual override procedure.

Failure to do this could result in serious injury.

If you are unsure about doing this please contact a trained centrifuge engineer.

Which centrifuge will spin the Apacor Midi Parasep® tube ?

Apacor Midi Parasep® centrifuge tube in Boeco U320 centrifuge


We recently had a customer who wanted to purchase a new centrifuge to spin the Apacor Midi Parasep® centrifuge tube in a sealed bucket.  The Boeco U320 centrifuge was their centrifuge of choice with 1624, 4 place swingout  rotor, 1481 rotor bucket and 1492 bio lid.

Boeco U320 Centrifuge
Boeco U320 laboratory Centrifuge


They used the standard 50ml conical bottom tube adapter which holds the Apacor Midi Parasep® tube suitably in place.  The 1481 metal rotor bucket and 1492 ‘screw on’ bio lid was a suitable choice for the biocontainment that it offers the laboratory.

The Apacor Midi Parasep® centrifuge tube is supplied by Apacor and you can find out more about this tube on the Apacor website (link below): –

Midi Parasep®

Lid Error on Eppendorf 5424 micro centrifuge

Do you have a Eppendorf 5424 micro centrifuge in your lab that is displaying a ‘lid error’ message as pictured below ?  You may find this article useful.

It is worth checking to see if the lid of the centrifuge springs up at the end of the run, if it does not then it is quite possible the fault is caused by a broken spring inside the lid.

The above picture is a birds eye view of a Eppendorf 5424 centrifuge with the lid cover removed.  You can see in the top left of the picture that the lid spring leg has broken off and therefore does not enable the lid to spring open at the end of the run or hold the lid upright.

The Eppendorf 5424 is a current model and at time of writing parts are still available from Eppendorf.  Depending on where in the world you are located you will need to contact the manufacturer for your local distributor.


Error 6 on Hettich Universal 320 & Universal 320R centrifuge

Do you have an error 6 message displaying on your Hettich Universal 320 or 320R centrifuge ?

Error 6 may be caused by an error in lid locking or lid closure.

The first thing to try is a mains reset.  To perform a mains reset the operator should switch off the mains switch located at the back of the centrifuge for the universal 320 (non refrigerated model) or right hand side for the universal 320R (refrigerated model).  Then wait for at least 10 seconds before turning the mains switch back to the on position.

If the error 6 message displays again then it is likely that the lid lock mechanism needs replacing.

This is available to buy direct from Hettich in Germany or any of their dealers which will vary depending where in the world you are located.

Here is a link to the operators manual on the manufacturers website.

Noisy Heraeus Pico 17 or Fresco 21 centrifuge ?

Is your Heraeus Pico 17/21, Fresco 17/21, VWR Microstar 17 & 17R, Fisher Accuspin 17 & 17R, IEC MicroCL 17 and MicroCL 21 centrifuge making a noise when you run it ?


There could be a few reasons why your centrifuge is making a noise with these centrifuge models.

We would recommend to make the following checks as detailed below:-

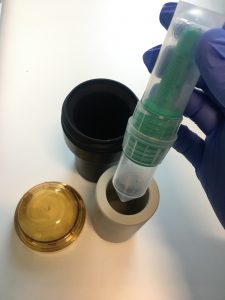
  1. Check the black rotor seal is seated correctly on your rotor as detailed by the arrow in the picture below ?


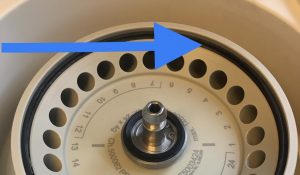
If the black seal is fitted as shown in the picture then move onto the second check.  If the rotor seal is missing then it may be the black seal has become unseated and wrapped itself around the outside of the rotor and the remnants will be in the bowl of the centrifuge underneath the rotor.   You will have a lot of black markings from the seal as it has disintegrated.  These black markings will be on the outside of the rotor and outside of the bowl.

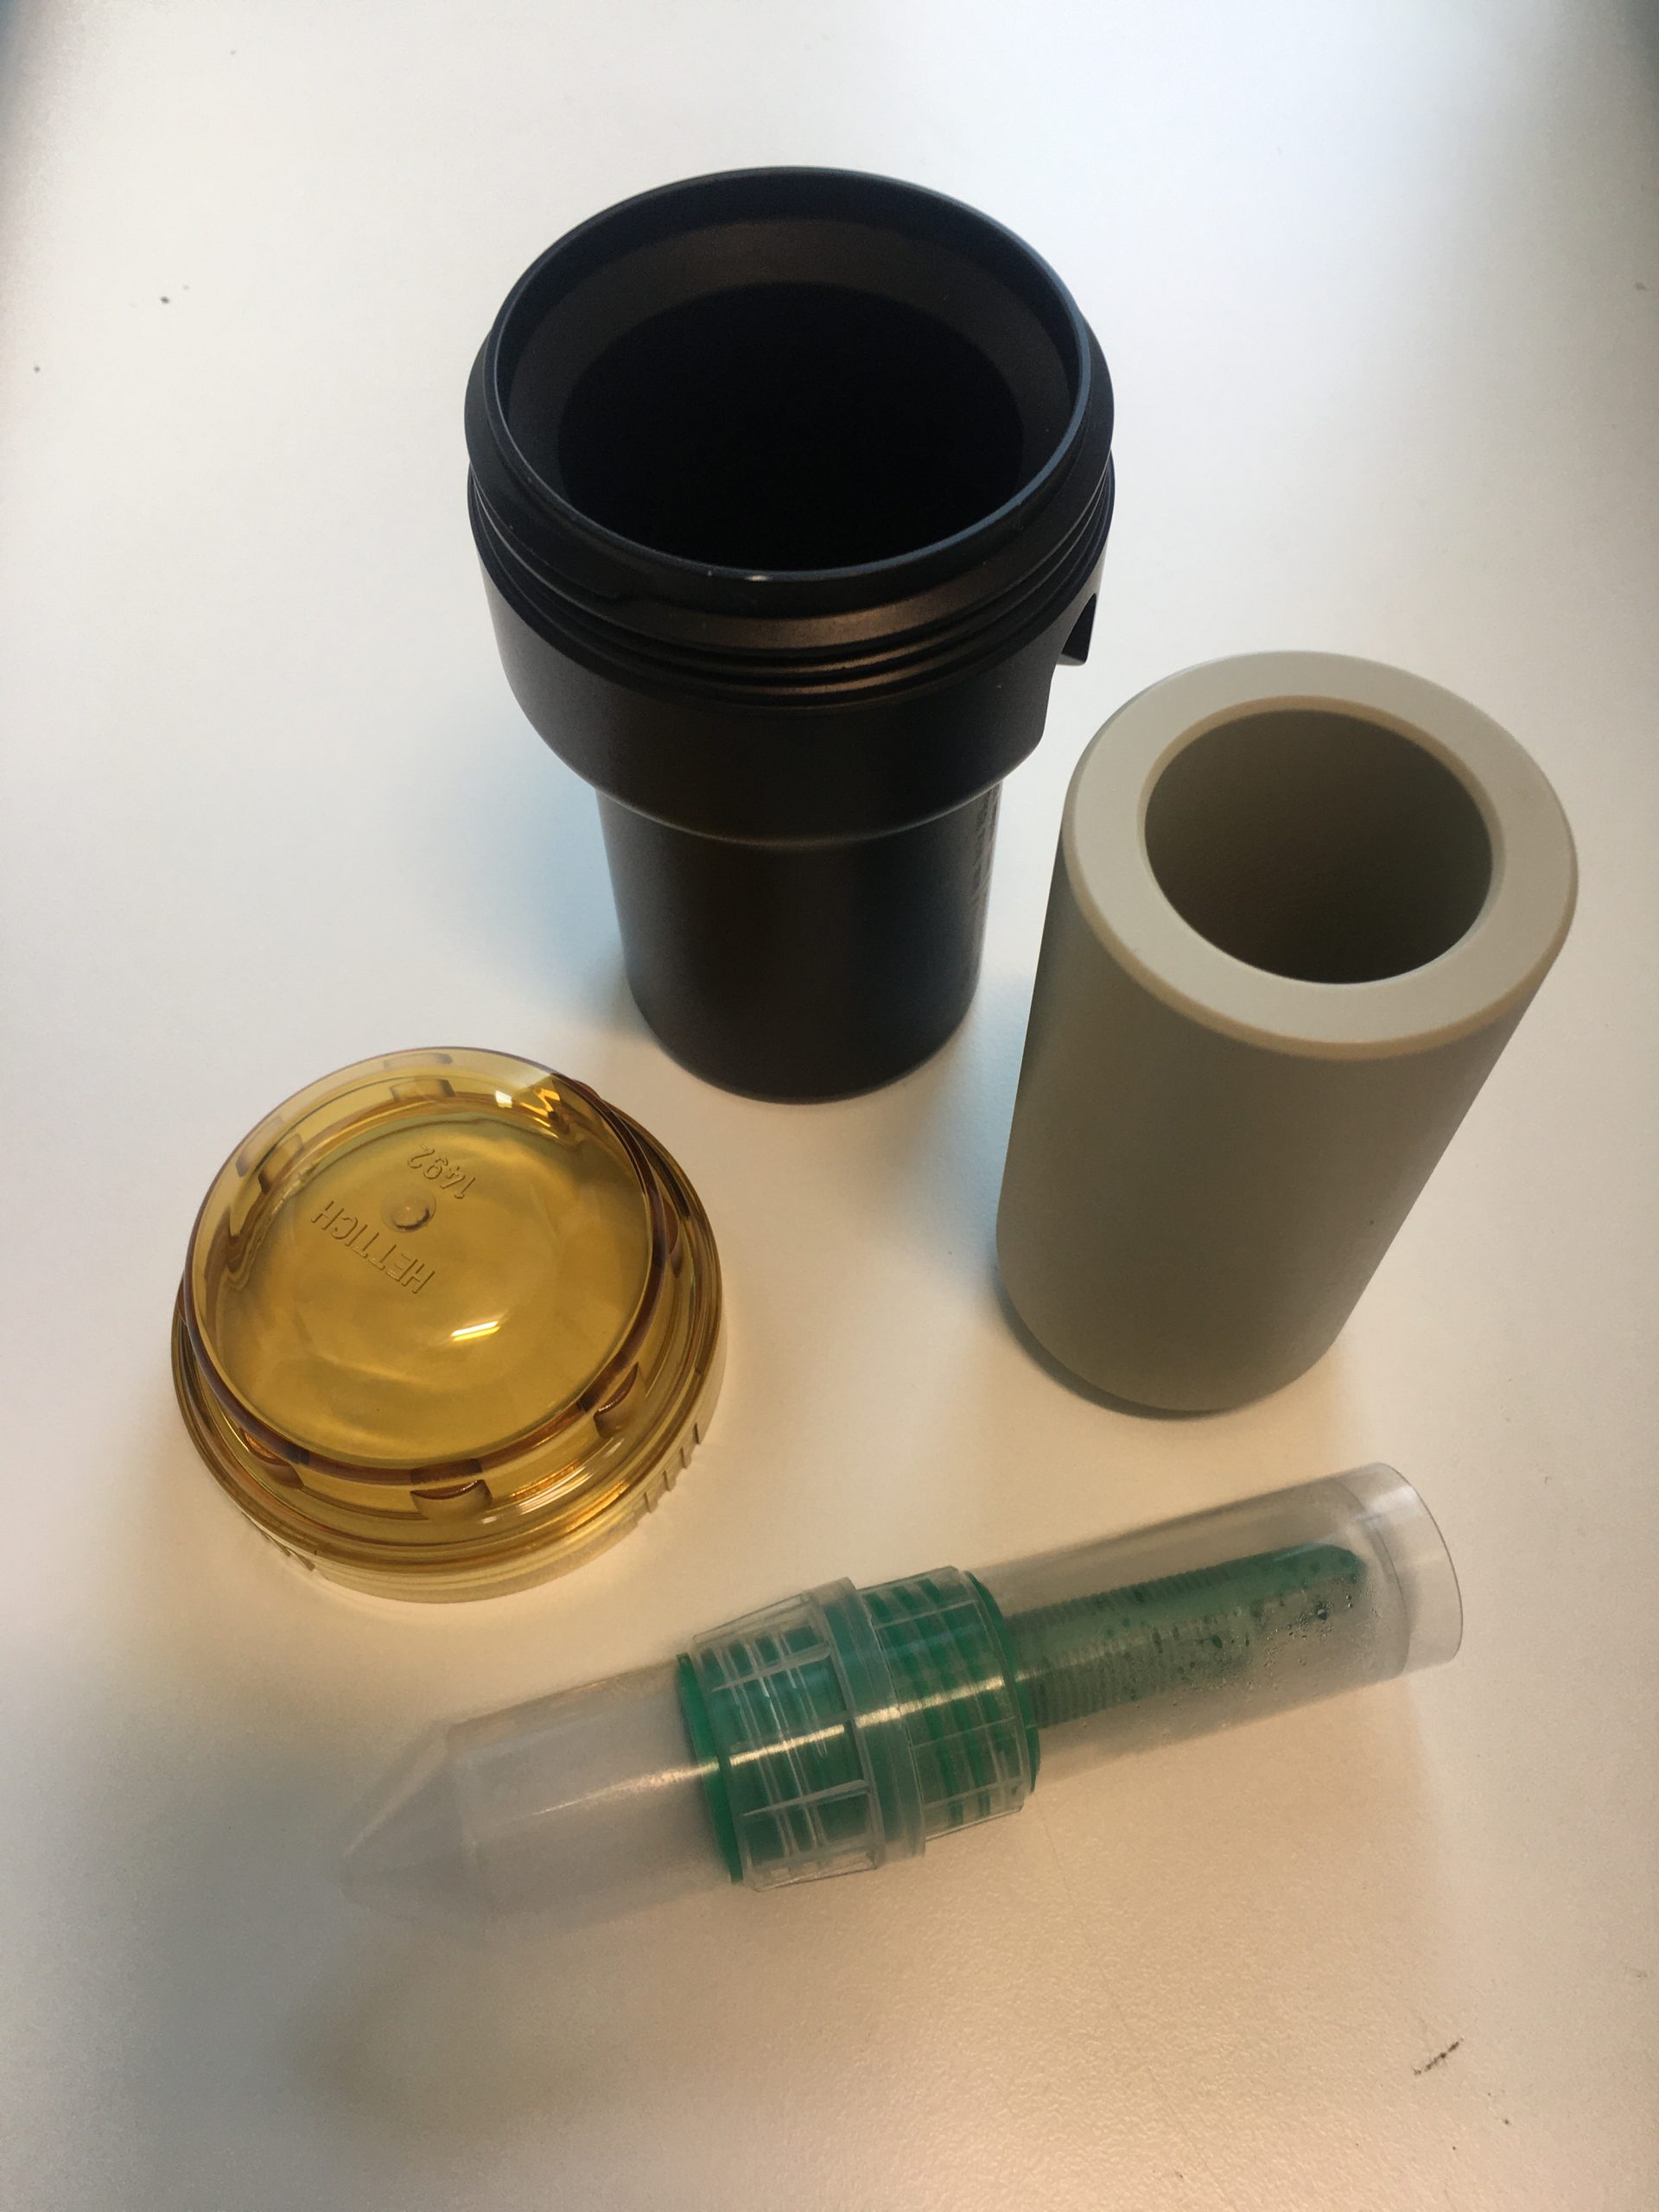
If this has happened you need to remove the rotor and clean up underneath the rotor to remove all the remaining pieces of the seal.  You should also clean and debris from the rubber seal at the top of the bowl on refrigerated models.  (WARNING !!! Always be careful for broken tubes or glass and follow your internal procedures for laboratory disruptions/spillages)

Once you have removed all remaining debris you can put the rotor back on and make sure it is on securely. You will then need to fit replacement seals to ensure your rotor and lid retain the biocontainment certification.   You may have a spare set of these seals from when your centrifuge was delivered.  If not then you can purchase a replacement from this supplier.

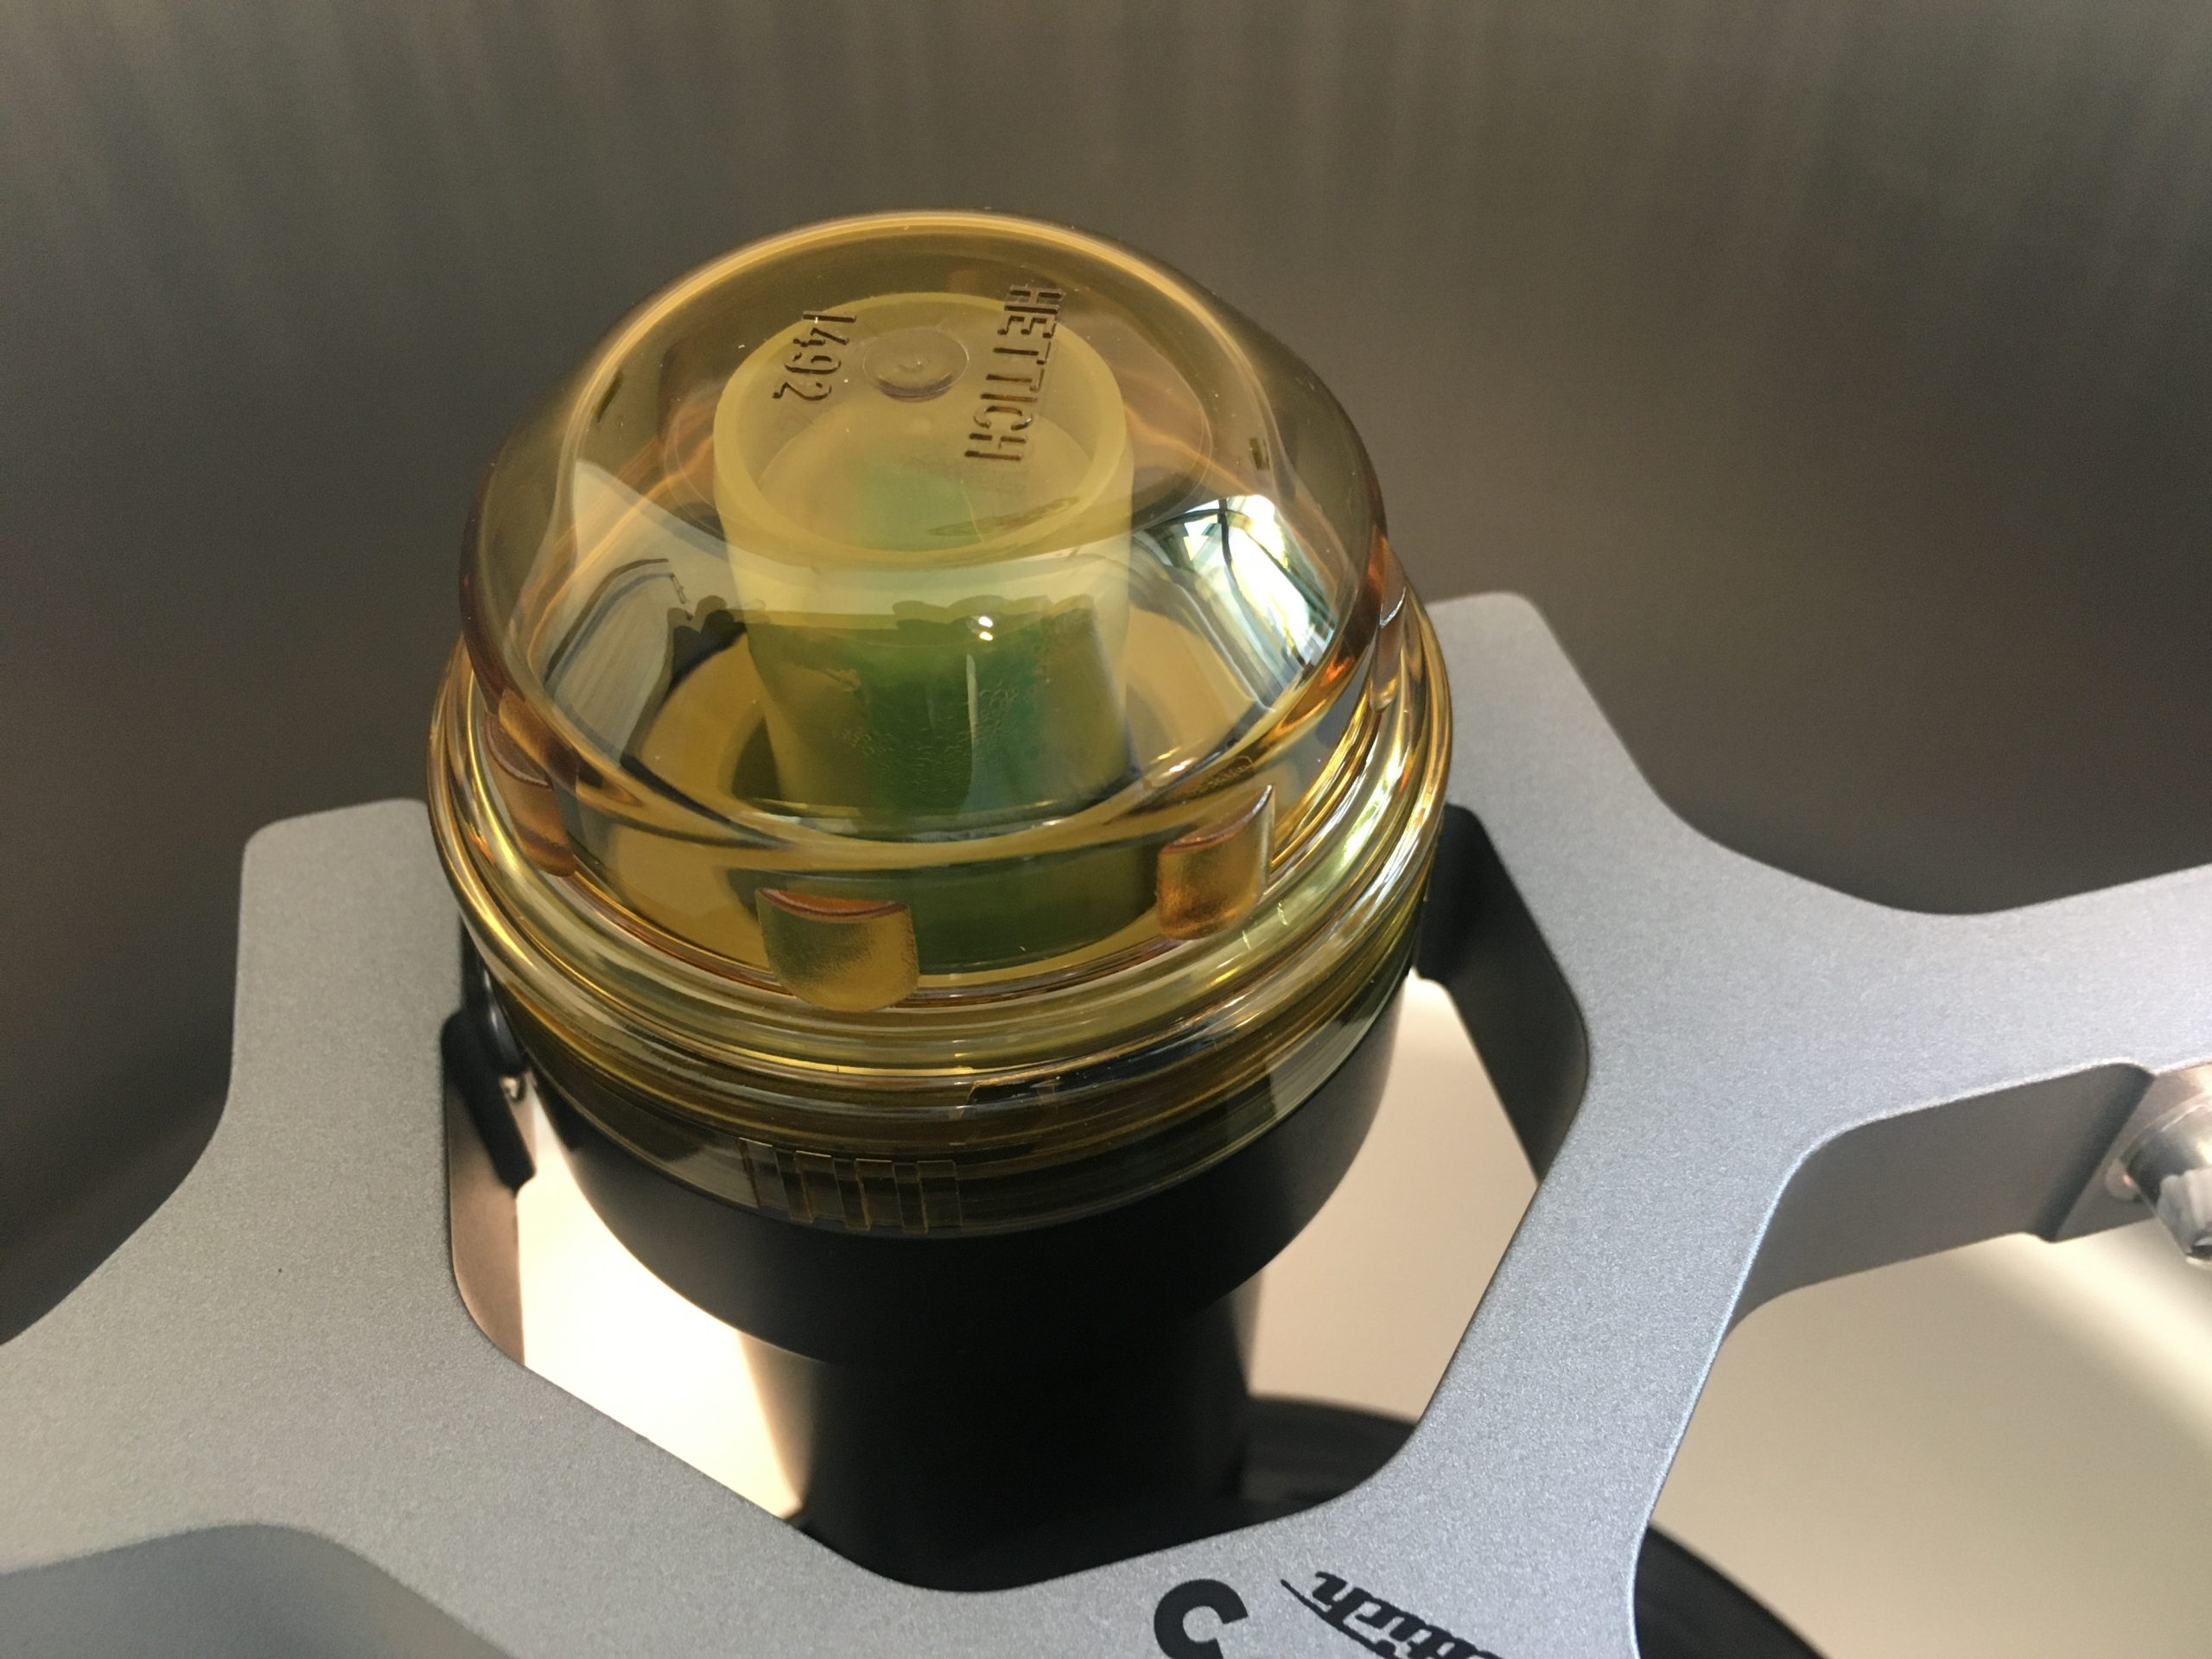
2. Check under the rotor for debris.  You are looking to remove anything that should not be their for example broken tubes, tube caps, stickers. (WARNING !!! Always be careful for broken tubes or glass and follow your internal procedures for laboratory disruptions/spillages)

3.  Finally, if your centrifuge is still noisy and you have followed step 1 & 2 then it is likely that the motor bearings in your centrifuge motor may have worn.

If the bearings in the motor have started to wear then the centrifuge will make a high pitch noise whilst it is running.  The pitch of this noise is likely to increase the more the centrifuge is used.

Below is a video of a VWR Microstar 17R with a noisy motor.

A replacement motor can be purchased from this supplier or clicking the motor picture below: –


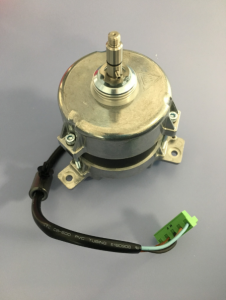
I would also take the opportunity while replacing the motor to also change the 3 rubber motor mounts.
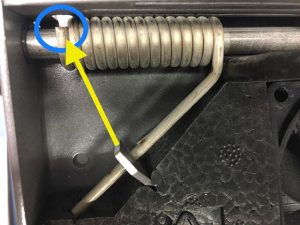